- Language
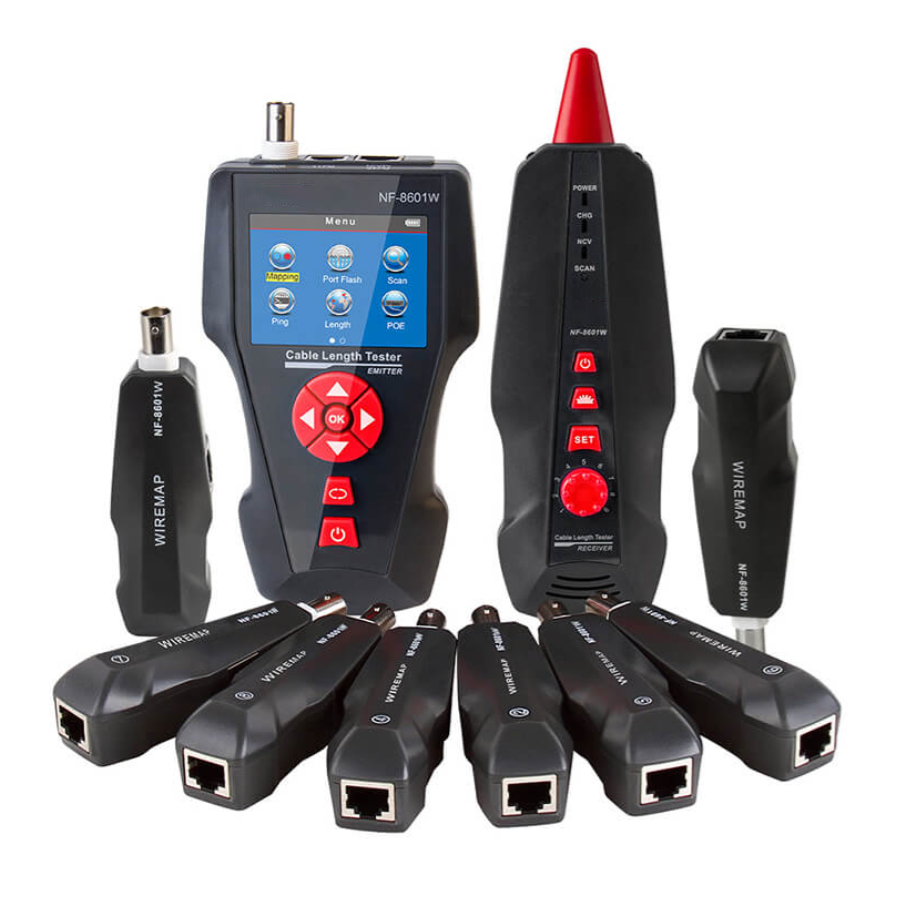
RJ45 Cable Tester Instructions

Properly following the instructions for an RJ45 cable tester is essential for accurate testing, reliable results, and safe operation. These instructions typically cover various aspects, including setup, testing procedures, and maintenance, and are designed to guide users, whether they are experienced technicians or beginners, through the process of using the cable tester effectively.
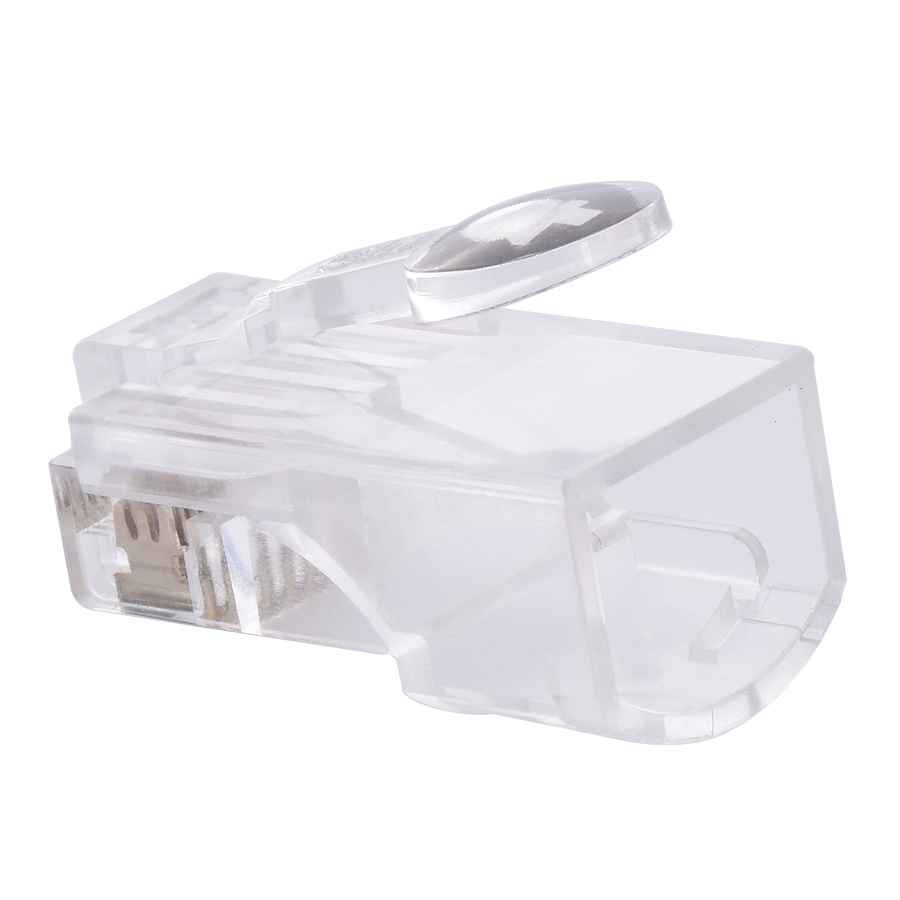
Before starting any testing, the first step is to familiarize oneself with the components of the RJ45 cable tester. Most testers consist of a main unit, which may have an LCD screen or LED indicators for displaying test results, buttons or switches for selecting different testing modes, and ports for connecting the cables. Some testers may also come with additional accessories, such as a remote unit for testing cables over longer distances or a tone probe if the tester has a tone - generating feature. Understanding the functions of each component is crucial for proper operation.
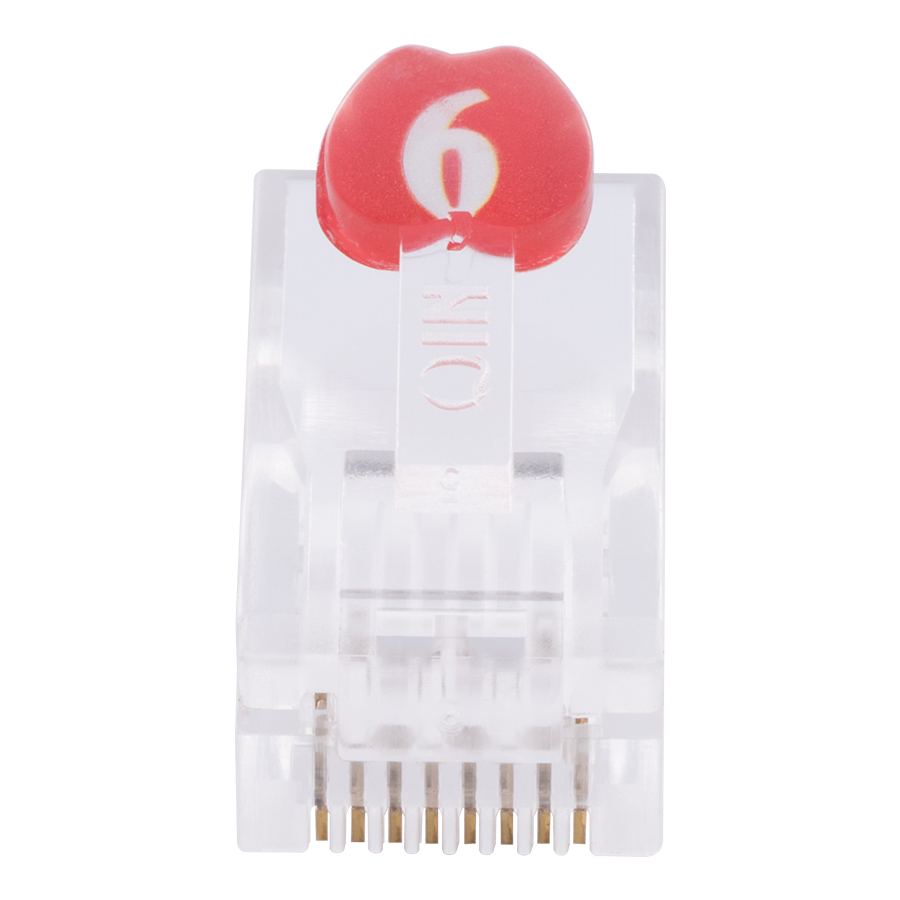
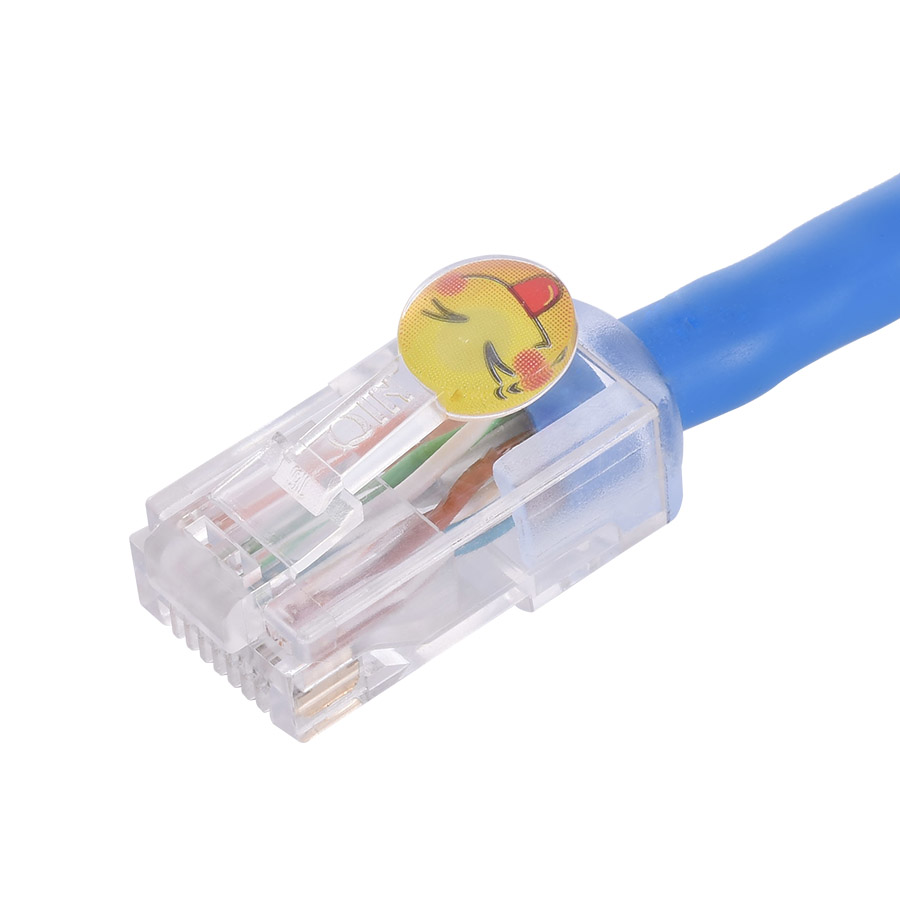
To begin testing, the user needs to prepare the Ethernet cable. Measure and cut the cable to the desired length if necessary, and then use a wire stripper to carefully remove the outer jacket, exposing the four pairs of wires inside. It's important not to damage the individual wires during this process. Next, arrange the wires according to the correct pinout standard (either T568A or T568B) and insert them into an RJ45 connector. Use a crimping tool to secure the connector to the cable.
Once the cable is ready, connect one end of the cable to the appropriate port on the main unit of the cable tester. If the tester has a remote unit, connect the other end of the cable to the remote unit. For basic connectivity testing, turn on the tester and select the relevant testing mode. The tester will then send electrical signals through the cable and analyze the responses. Depending on the tester's design, the results will be displayed on the LCD screen or indicated by the LED lights. For example, if all the wires are properly connected and there are no faults, the tester may show a "Pass" status or all the LED lights may illuminate in a specific pattern. If there are issues such as open circuits, short circuits, or incorrect wiring, the tester will display the relevant error messages or indicate which wires are affected.
In the case of more advanced testing features, such as cable length measurement or high - frequency performance testing, the user needs to follow the specific instructions provided by the manufacturer for selecting the appropriate mode and interpreting the results. Some testers may require additional calibration or setup procedures for these advanced functions.
After testing, it's important to perform proper maintenance on the cable tester. This may include turning off the device and storing it in a safe, dry place. If the tester uses batteries, check the battery level regularly and replace or recharge them as needed. Clean the connectors and ports of the tester periodically to prevent dust and debris from affecting the test results. By carefully following these instructions, users can ensure accurate and reliable testing of Ethernet cables using an RJ45 cable tester, facilitating efficient network installation, maintenance, and troubleshooting.
Read recommendations:
LEG 77211 Socket Outlet Mosaic German Std 2P+E Auto term - 2 Mod - White Antimicrobial
-
-
-
-
-
-
-
-

-
-

Media Converter Network Patch Cord
Jun 27, 2026904
-
Network Cable Bandwidth Capacity
Jul 06, 2026895
-
UY2 Connector for Telephone Wire
Jul 08, 2026892
-

Wall-mounted Network Cabinet
Jun 30, 2026878
-
Four-Port Network Faceplate
Jul 03, 2026875