- Language
RJ45 Connector Connection Guide

Connecting an RJ45 connector to an Ethernet cable is a critical process that requires careful attention to detail to ensure reliable and efficient data transmission. This connection guide outlines the step - by - step procedure for properly terminating an RJ45 connector onto an Ethernet cable, whether it's for a new network installation or a repair.
The first step in the process is to gather the necessary tools and materials. You will need an Ethernet cable, an RJ45 connector, a wire stripper, a crimping tool, and a cable cutter (if the cable length needs adjustment). It's essential to use high - quality tools and components, as they directly impact the quality of the connection. For example, a precision - made crimping tool will ensure that the pins of the RJ45 connector make proper contact with the wires.
Next, measure and cut the Ethernet cable to the desired length using the cable cutter. Make sure to leave some extra length to account for any mistakes during the termination process. Then, use the wire stripper to carefully remove the outer jacket of the cable, exposing the four pairs of wires inside. It's crucial not to damage the individual wires while stripping the jacket. Once the wires are exposed, untwist the wire pairs slightly to separate them, but try to keep them twisted as much as possible to minimize crosstalk.
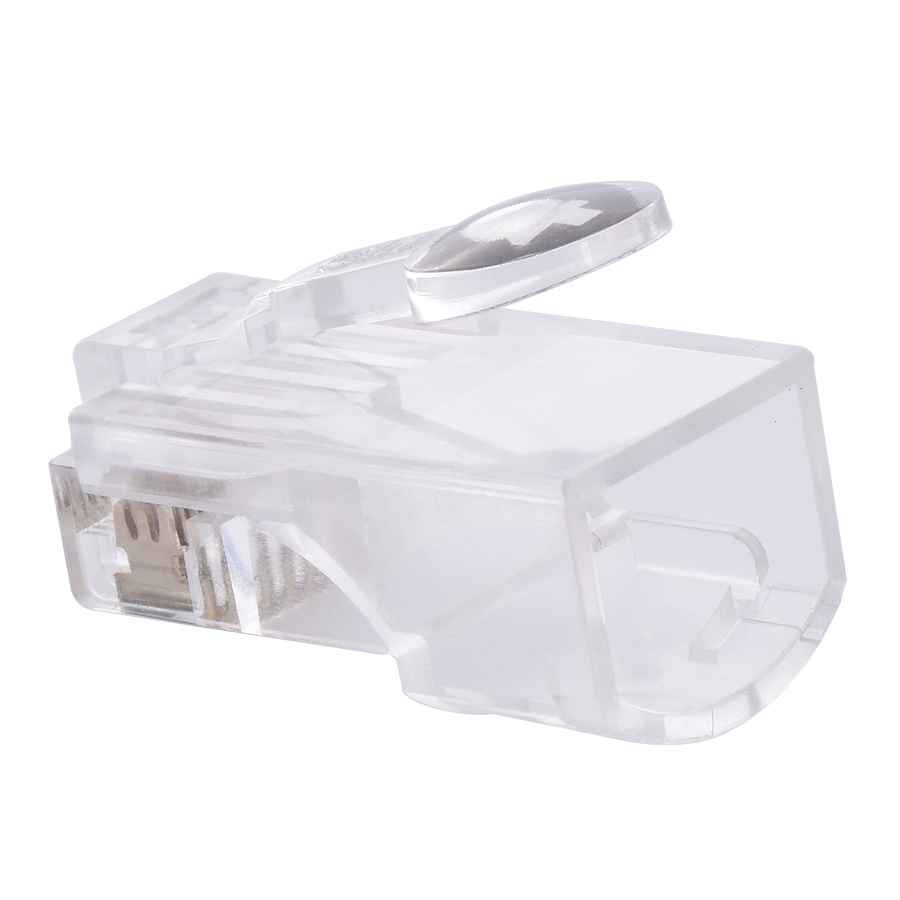
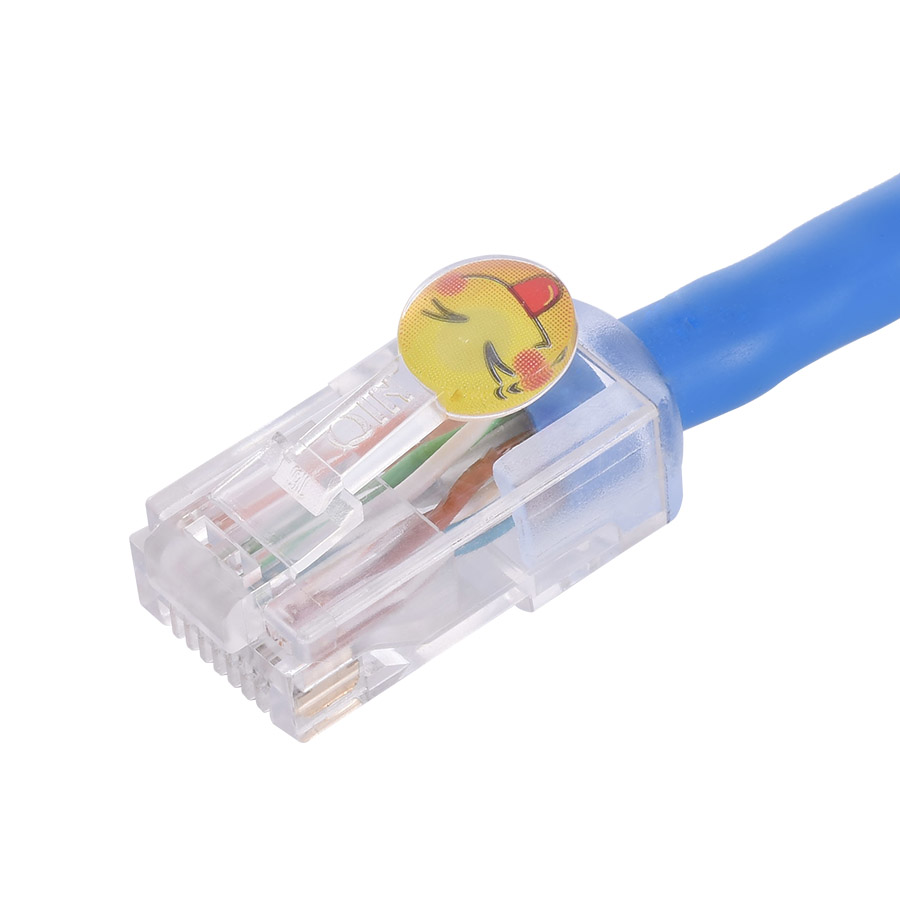
After separating the wires, arrange them according to the chosen pinout standard, either T568A or T568B. The most common standard is T568B, where the wire order from left to right (when looking at the connector with the clip facing down) is white - orange, orange, white - green, blue, white - blue, green, white - brown, brown. Ensure that the wires are neatly aligned and straight before inserting them into the RJ45 connector.
Insert the arranged wires into the RJ45 connector, pushing them all the way to the end until the insulation of the wires reaches the end of the connector body. Make sure that each wire is properly seated in its corresponding pin slot. Once the wires are inserted, place the RJ45 connector into the crimping tool and apply firm pressure to crimp the connector. The crimping process forces the pins of the connector to penetrate the insulation of the wires, creating a secure electrical connection.
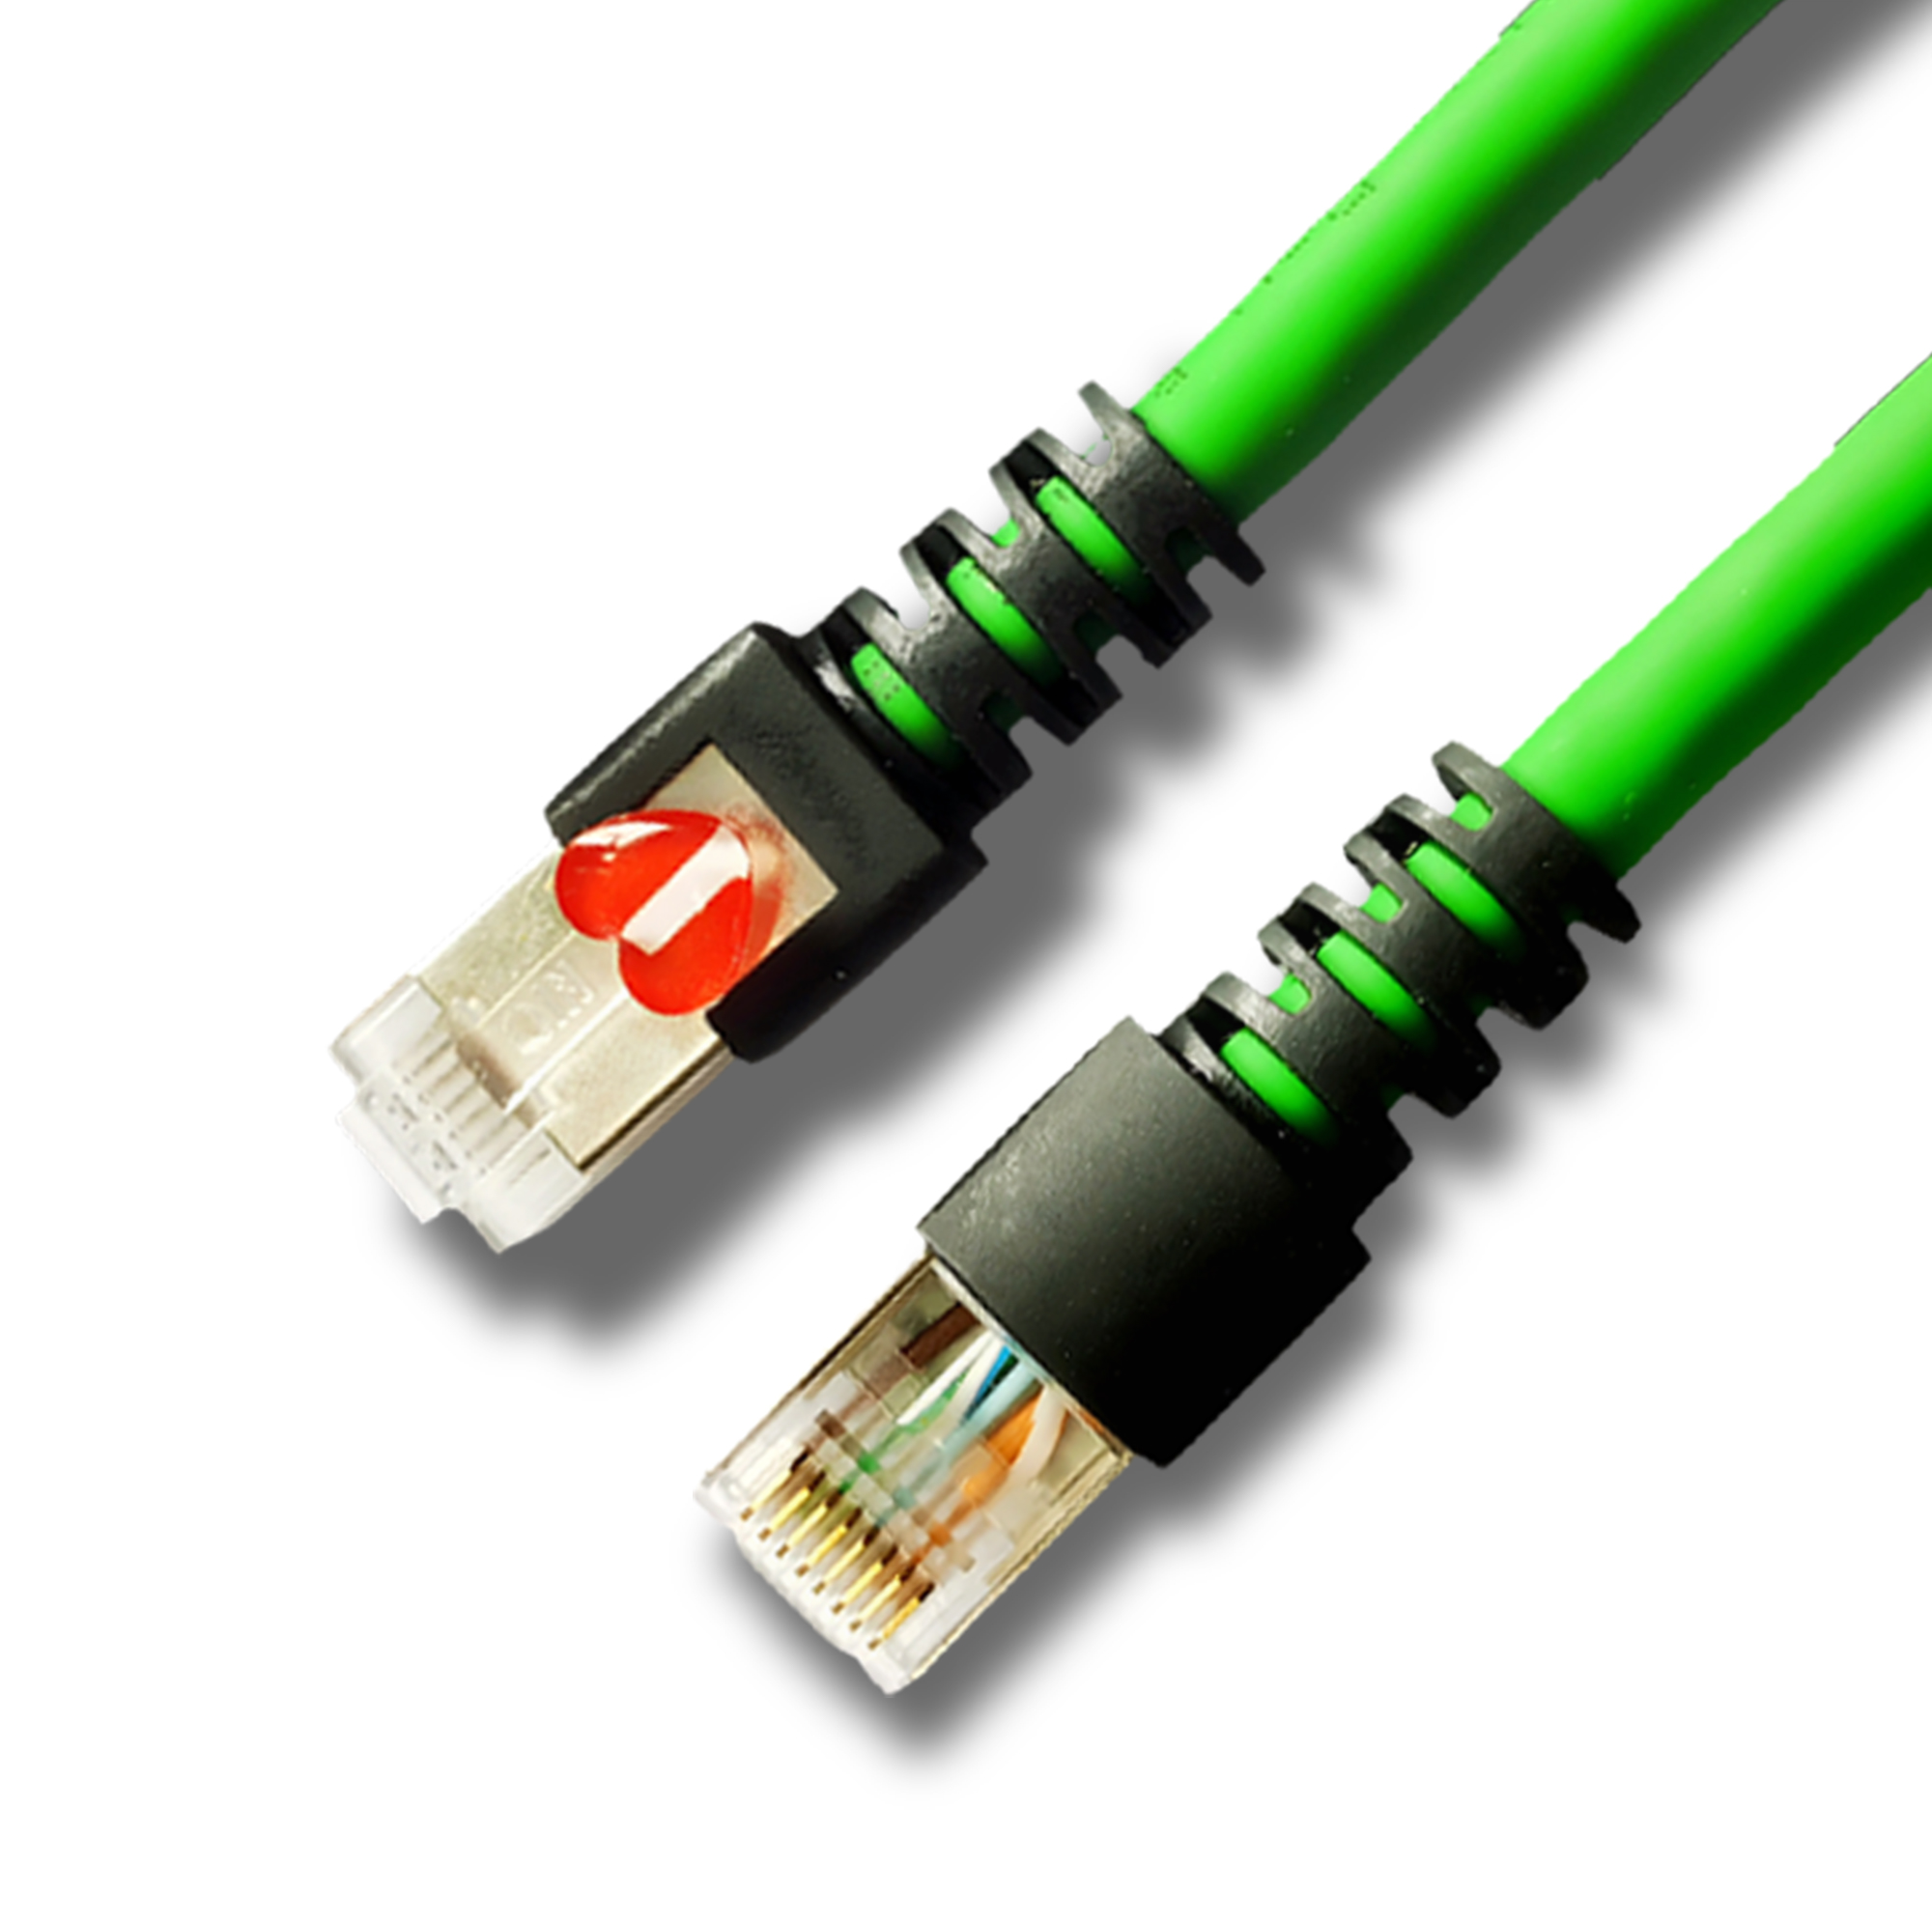
After crimping, it's advisable to perform a visual inspection to ensure that all the wires are fully inserted and that the connector is properly crimped. You can also use a network cable tester to check the connectivity and integrity of the connection. Connect the cable with the newly terminated RJ45 connector to the tester and follow the tester's instructions. If the tester indicates any faults, such as an open circuit or a short circuit, the connection may need to be redone.
In summary, connecting an RJ45 connector requires a systematic approach, from preparing the tools and materials to carefully arranging the wires, crimping the connector, and testing the connection. By following this guide, you can create reliable Ethernet connections that support efficient data transmission in your network.
Read recommendations:
Smart Switch Outlet 1 Way with Wireless APP Remote Control Compatible with Legrand Faceplate
RSH Graffiti Zigbee Bluetooth Mesh Three in One Multimode Gateway
-
-
-
-
-
-
-
-

-
-

Media Converter Network Patch Cord
Jun 27, 2026904
-

Network Cable Bandwidth Capacity
Jul 06, 2026895
-
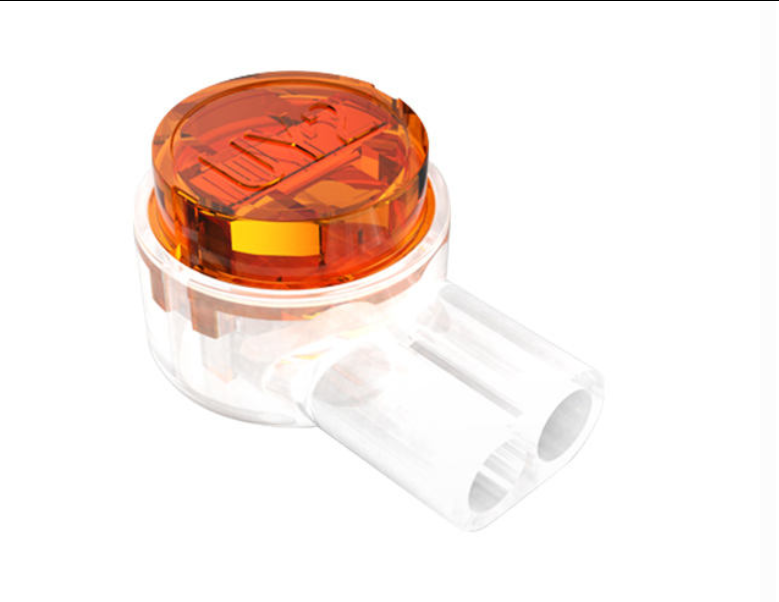
UY2 Connector for Telephone Wire
Jul 08, 2026892
-

Wall-mounted Network Cabinet
Jun 30, 2026878
-
Four-Port Network Faceplate
Jul 03, 2026875