- Language
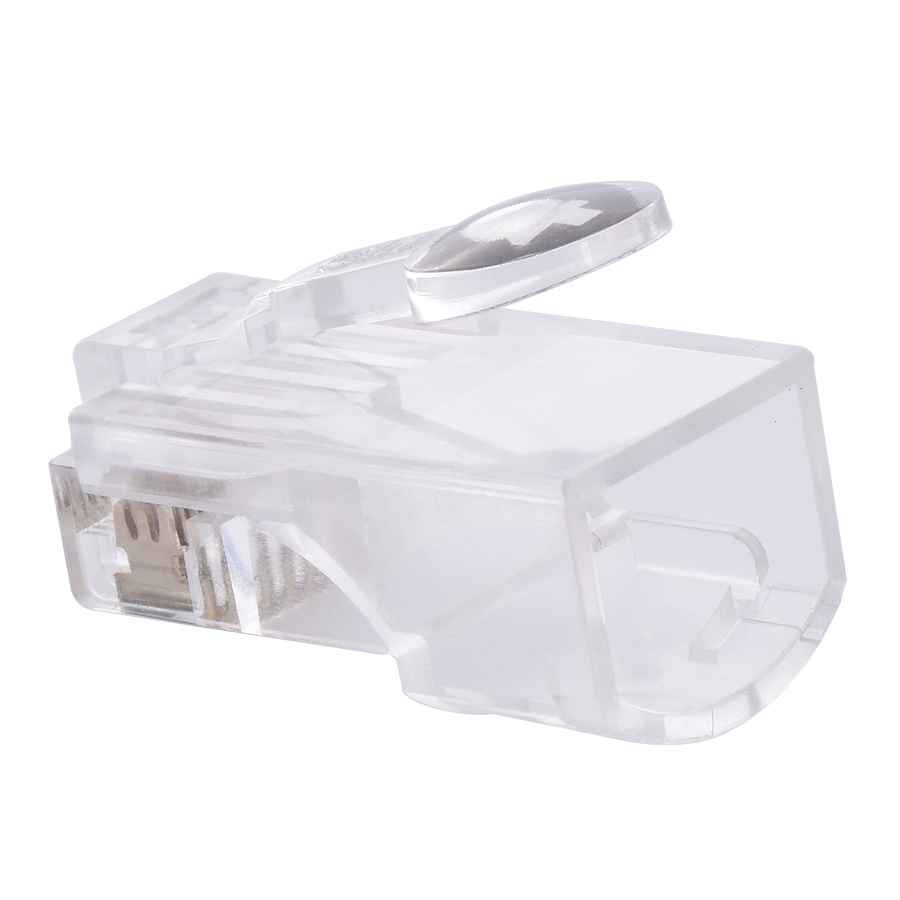
RJ45 Connector Crimping Tool Guide

A crimping tool is an essential piece of equipment for anyone working with RJ45 connectors, as it is used to create a secure and reliable electrical connection between the Ethernet cable and the connector. Proper use of a crimping tool is crucial for ensuring the integrity of the network connection, and following a correct procedure can prevent common issues such as loose connections, poor conductivity, and data transmission problems.
There are different types of crimping tools available, but most share common features. A typical RJ45 crimping tool has a handle mechanism that, when squeezed, applies pressure to the connector and the cable. The tool also has a specific crimping die or slot designed to fit the shape of the RJ45 connector. Some advanced crimping tools may include additional features like wire stripping blades, cable cutters, or even built - in wire order checkers.
Before using the crimping tool, it's essential to prepare the Ethernet cable and the RJ45 connector. First, measure and cut the cable to the desired length using a cable cutter. Then, use the wire stripping feature of the crimping tool (if available) or a separate wire stripper to carefully remove the outer jacket of the cable, exposing the four pairs of wires inside. Be cautious not to damage the individual wires during this process. After stripping, untwist the wire pairs slightly to separate them, but keep them twisted as much as possible to minimize crosstalk.
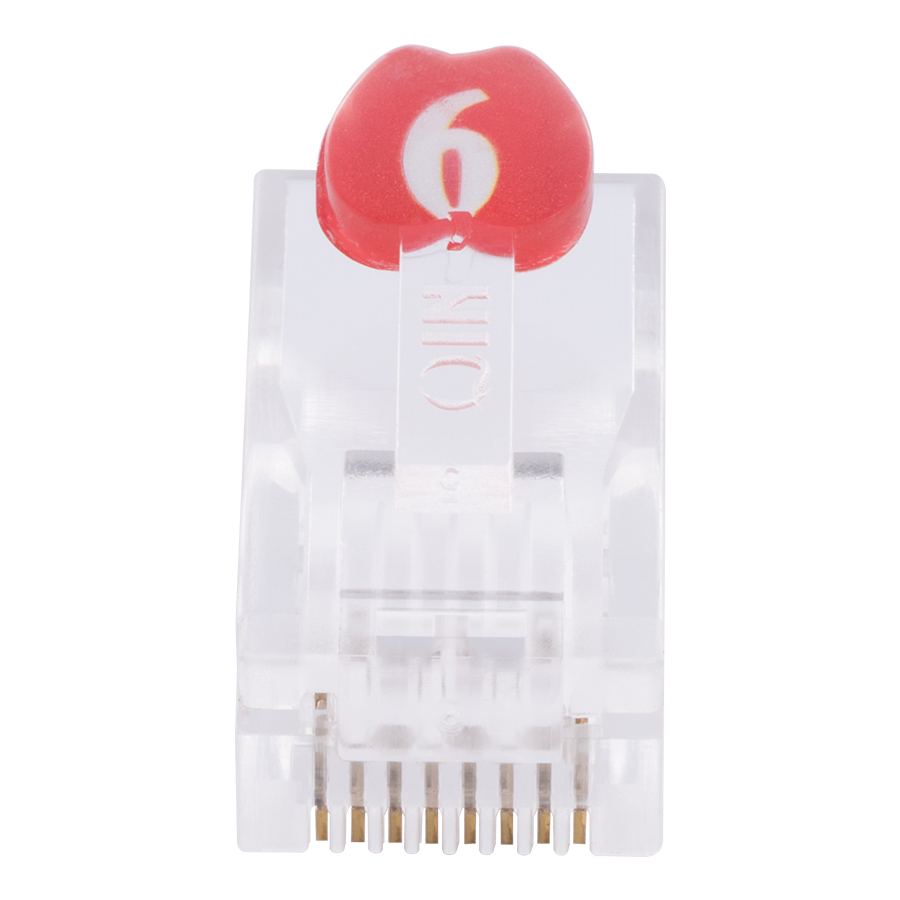
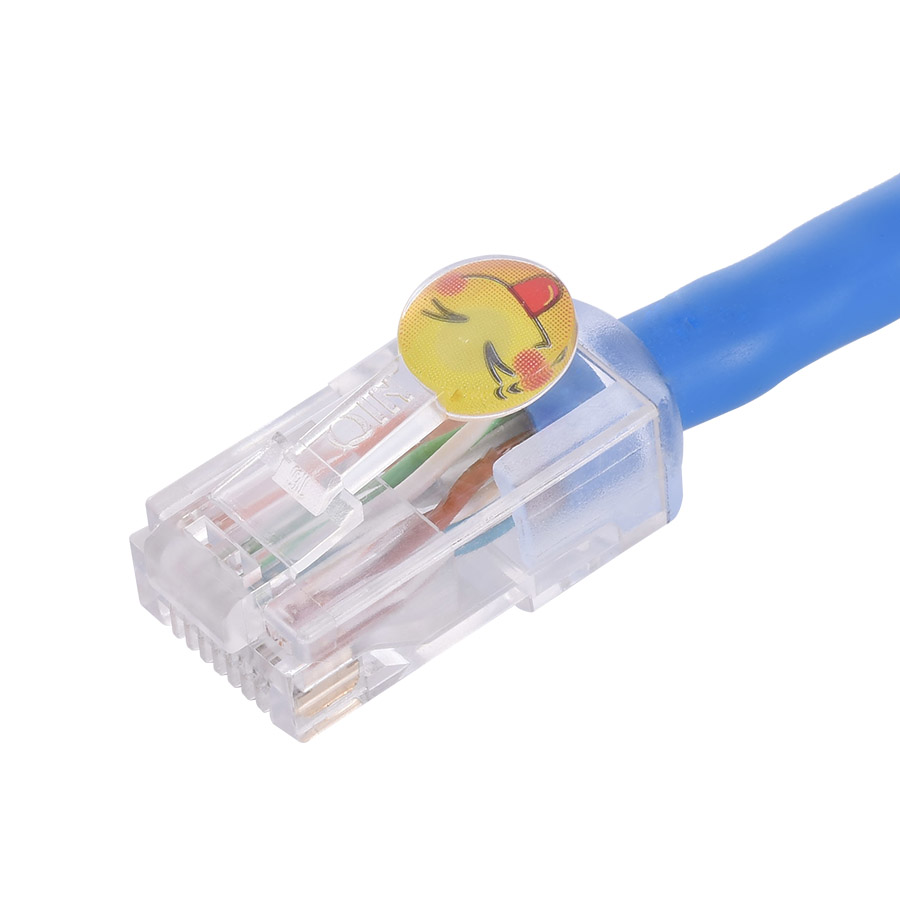
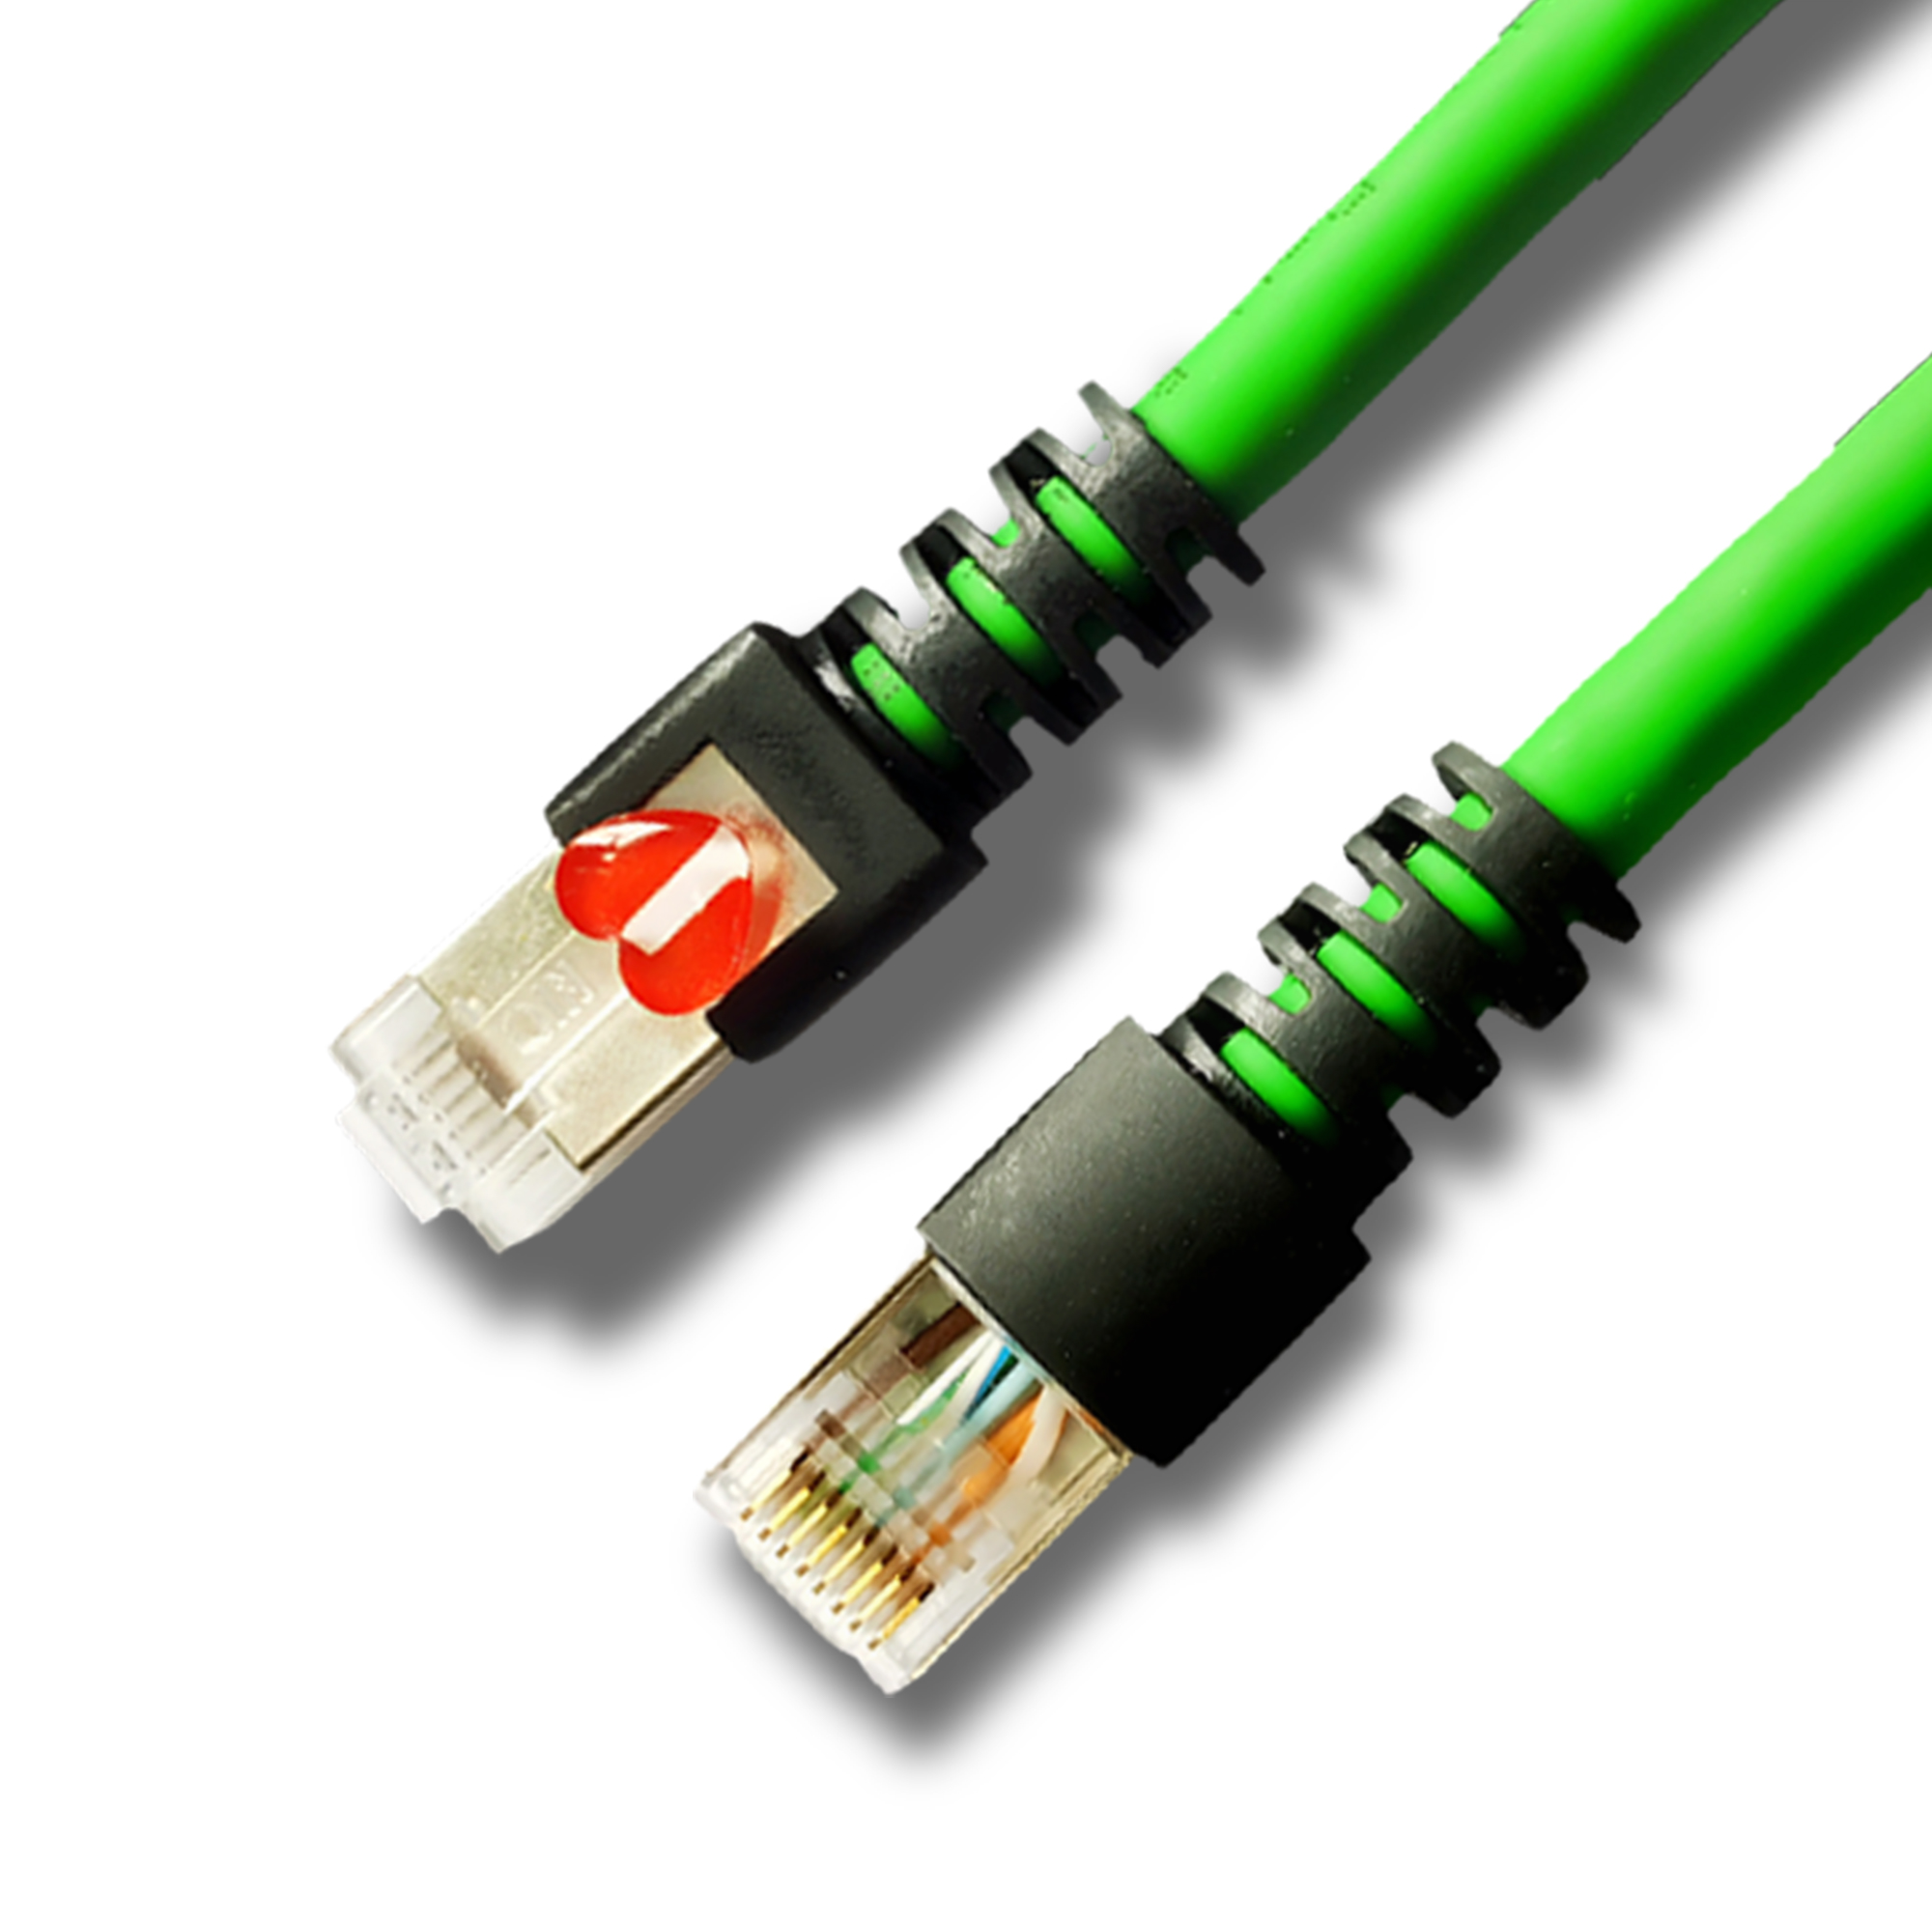
Next, arrange the wires according to the chosen pinout standard, either T568A or T568B. Ensure that the wires are neatly aligned and straight. Then, insert the arranged wires into the RJ45 connector, pushing them all the way to the end until the insulation of the wires reaches the end of the connector body. Make sure that each wire is properly seated in its corresponding pin slot.
Once the cable is inserted into the connector, place the RJ45 connector into the appropriate crimping die of the tool. The die is usually marked to indicate the correct orientation for the connector. Squeeze the handles of the crimping tool firmly and evenly. The crimping process forces the pins of the connector to penetrate the insulation of the wires, creating a secure electrical connection. Apply enough pressure to ensure that the pins are fully crimped, but avoid over - crimping, which can damage the wires or the connector.
After crimping, perform a visual inspection of the connector. Check if all the wires are fully inserted and if the pins are properly crimped around the wires. You can also gently tug on the cable to ensure that it is securely attached to the connector. To further verify the connection, use a network cable tester to check for continuity and proper wiring. By following these steps and using the crimping tool correctly, you can create reliable RJ45 connections that support efficient data transmission in Ethernet networks.
Read recommendations:
Cat6 UTP RJ45 Keystone Jack Female Modular Jack
EU standard 16A 20A smart plug
Cat6 Network Cable- Universal Choice for Engineering Networking
-
-
-
-
-
-
-
-

-
-

Media Converter Network Patch Cord
Jun 27, 2026904
-

Network Cable Bandwidth Capacity
Jul 06, 2026895
-
UY2 Connector for Telephone Wire
Jul 08, 2026892
-

Wall-mounted Network Cabinet
Jun 30, 2026878
-
Four-Port Network Faceplate
Jul 03, 2026875